Tax & Annual accounts
Report center
The report center
To create a report, follow the steps below:
- Mark which documents you want to include in the report.
Printing comments
If you have tagged your comments you can select which comments you want to include in the report. You can choose between Untagged, and/or To quality assurance.
If you use Tax & Annual accounts via Practice management, you can also use the To customer tag.
Printing appendices
If you select the option Appendices all main- and sub appendices will be included as default. With the Filter-icon  , however, you can specify in detail what appendices to print. From the appearing dialog, you can select all appendices, all completed appendices or select single appendices to include in the report:
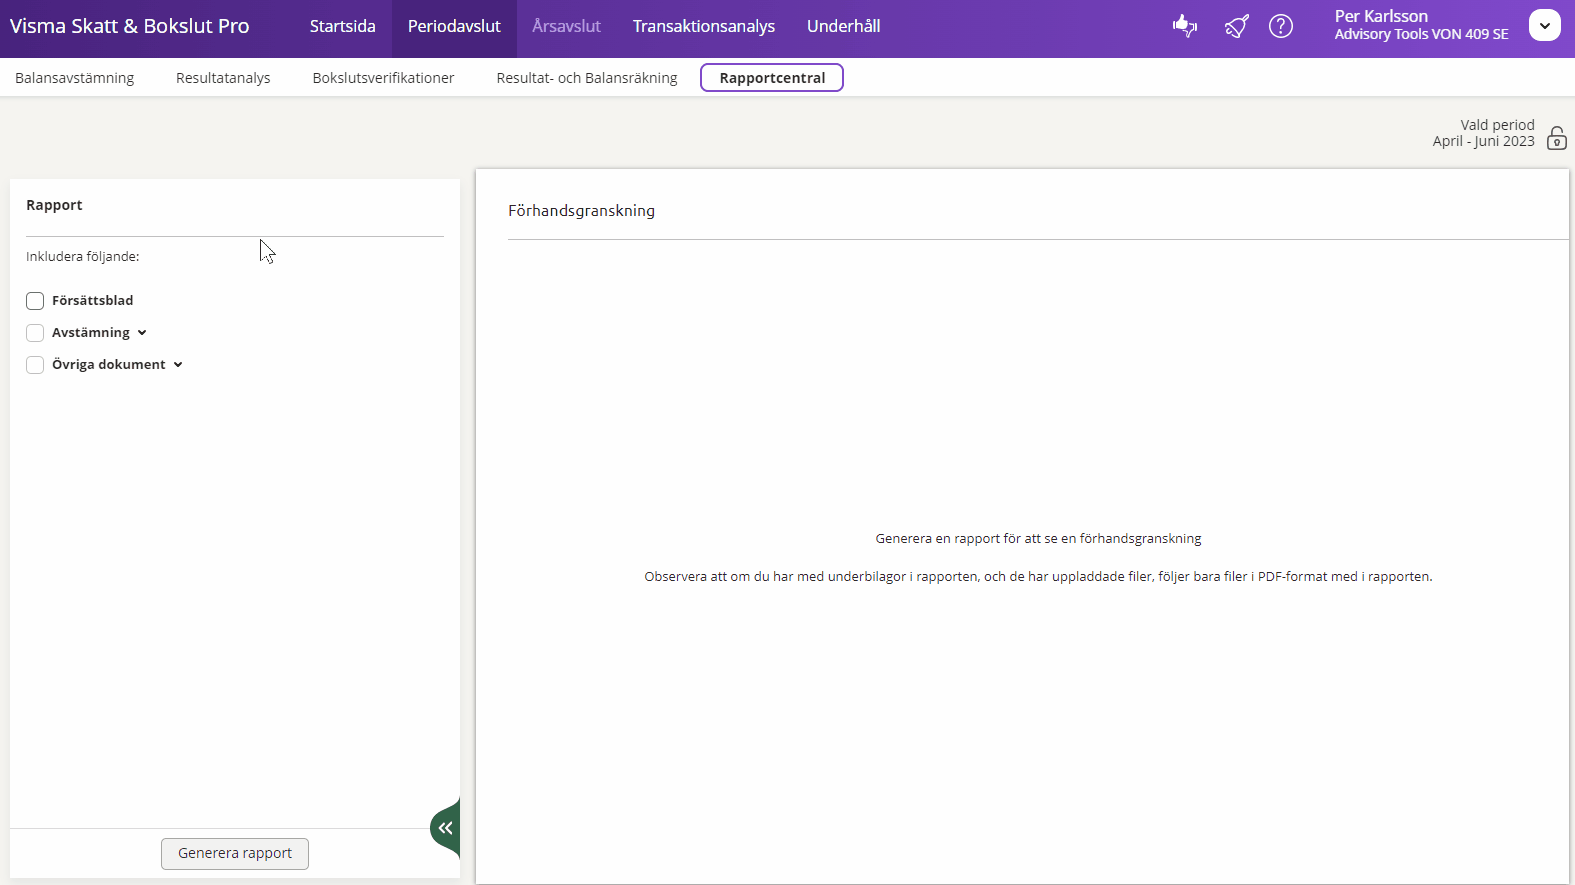
Note that if you include sub-appendices in the report, and they have uploaded files, only files in pdf format are included.
Printing the income statement and balance sheet
The information that is included in Income statement and Balance sheet is the same that can be seen under Year end closing - Financial statements.
- Click Generate report.
The report is generated and you get a preview directly.
- Click Download pdf to save the report on your computer. As default, it will be saved in the Downloads folder.